


Preparing concrete for staining is essential to ensure a successful and long-lasting finish. Whether you are staining a concrete floor, patio, or countertop, following the right preparation techniques will help you achieve the desired results.
Clean the Surface
Before staining the concrete, it is crucial to clean the surface thoroughly. Start by removing loose debris, dirt, or dust with a broom or vacuum cleaner. Next, use a pressure washer to remove any stubborn stains or contaminants. Use a suitable concrete cleaner or degreaser to remove oil, grease, or other stubborn stains. Rinse the surface thoroughly and allow it to dry completely.
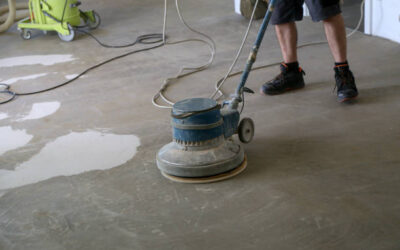
Repair Any Damages
Inspect the concrete surface for visible damages such as cracks, holes, or uneven areas. Repair these damages before proceeding with the staining process. Small gaps can be filled with a concrete patching compound or epoxy. For larger cracks or holes, it is recommended to consult a professional for proper repair techniques. Smooth any uneven areas using a concrete grinder or sander to ensure a uniform surface.
Test the Porosity of the Concrete
Before applying the stain, it is essential to test the porosity of the concrete. This step will help determine the absorption rate of the stain and ensure a more even finish. Sprinkle water on different areas of the concrete surface. If the water is absorbed quickly, the concrete is porous, and the stain will penetrate well. If the water beads on the surface, the concrete is less porous, and you may need to use a concrete etching solution to open up the pores.
Etch the Concrete (If Required)
If the concrete needs to be porous enough or if you want to enhance the stain’s color intensity, etching the concrete is recommended. Concrete etching solutions are readily available at hardware stores and are usually applied with a brush or sprayer. Follow the manufacturer’s instructions carefully and allow the etching solution to sit on the concrete for the specified time. Rinse the surface thoroughly with water and let it dry completely before proceeding.
Protect Adjacent Areas
Before applying the stain, protecting adjacent areas such as walls, plants, or furniture is essential. Use plastic sheets, tape, or drop cloths to cover and protect these areas from accidental staining.
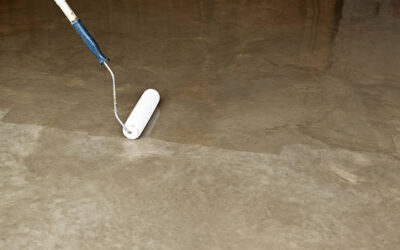
Apply the Stain
Now that the concrete is clean, repaired, and prepped, it’s time to apply the stain. Choose a high-quality concrete stain that is specifically designed for the type of concrete surface you are working on. Apply the stain using a sprayer, roller, or brush, depending on the size and complexity of the project. Follow the manufacturer’s instructions regarding the number of coats, drying time, and any additional steps required.
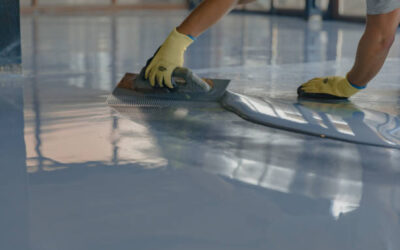
Seal the Stained Concrete
To protect the stained concrete and enhance its durability, it is crucial to apply a sealer. Concrete sealers come in various types, such as acrylic, epoxy, or polyurethane. Choose a sealer that suits your specific needs and use it according to the manufacturer’s instructions. Applying a sealer will protect the stain from fading or peeling and make the surface easier to clean and maintain.Preparing concrete for staining is essential to achieving a beautiful and long-lasting finish. Following the steps mentioned above, you can ensure that your stained concrete project turns out exactly as you envisioned. Remember to clean the surface thoroughly, repair any damages, test the porosity, etch if required, protect adjacent areas, apply the stain carefully, and seal the stained concrete for optimal results.
0 Comments