


Staining concrete is a great way to enhance your space’s overall appearance, whether indoors or outdoors. By applying a stain, you can give your concrete a fresh and vibrant look that matches your style. However, before you jump into the staining process, preparing the concrete is important to ensure the best results properly. Here’s a step-by-step guide on how to prepare concrete for staining.
- Clean the surface: The first step in preparing concrete for staining is thoroughly cleaning the surface. Remove any dirt, dust, grease, or other contaminants that may be present. You can use a pressure washer, stiff brush, and concrete cleaner to scrub the surface. Be sure to rinse off all cleaning products and allow the concrete to dry completely before moving on to the next step.
- Repair any cracks or damage: Check the concrete for any cracks, holes, or other damage that needs to be repaired. Use a concrete patching compound to fill these areas and level them with the rest of the surface. Follow the manufacturer’s instructions for the specific product you are using, and allow the patches to dry completely before proceeding.
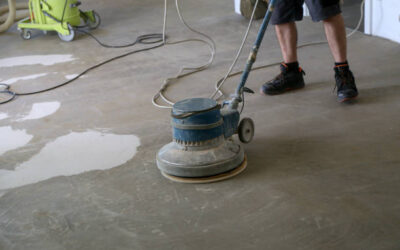
- Remove any existing coatings: If your concrete has been previously sealed or coated, removing these layers before staining is important. Depending on the type of coating, you may need to use a chemical stripper or a mechanical grinder to remove it effectively. Follow the instructions provided by the coating remover manufacturer and ensure adequate ventilation and protective gear when using any chemical products.
- Etch the surface: Etching the concrete is necessary to open up the pores and allow the stain to penetrate effectively. You can use an acid-based etching solution readily available at most home improvement stores. Follow the manufacturer’s instructions for mixing and applying the etching solution. It’s important to wear protective clothing, gloves, and goggles when working with acid-based products. Rinse the surface thoroughly with water after the etching process is complete to neutralize any remaining acid.
- Test the stain: Before applying the stain to the entire surface, conducting a small test in an inconspicuous area is crucial. This will help you determine the desired color and how the concrete will react to the stain. Follow the manufacturer’s instructions for applying the stain and allow it to dry before evaluating the results.
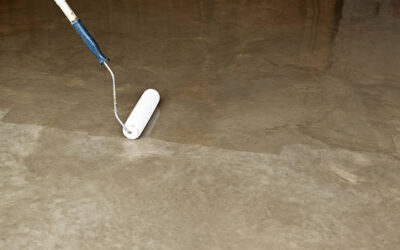
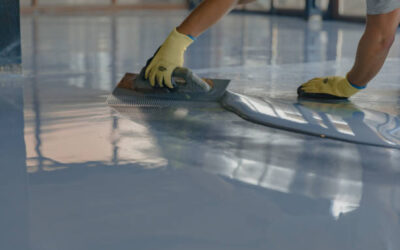
- Apply the stain: Once satisfied with the test results, you can stain the entire surface. Use a pump sprayer, a brush, or a roller to apply the stain evenly. Work in small sections and avoid overlapping to prevent uneven coloration. Depending on the desired intensity, you may need to apply multiple coats. Allow each coat to dry completely before applying the next one.
- 7. Seal the surface: To protect the stained concrete and enhance its durability, applying a sealer is crucial. Choose a high-quality concrete sealer compatible with the stain you have used. Follow the manufacturer’s instructions for application, including the recommended number of coats and drying time. Following these steps can effectively prepare your concrete for staining and achieve stunning results. Proper preparation ensures that the stain adheres well and provides a long-lasting finish. So take your time, follow the instructions, and enjoy the transformation of your concrete surface!
0 Comments