


Polishing your floor can be a great way to enhance its appearance and reap several benefits, such as prolonging its lifespan, promoting personal health and hygiene, and impressing guests. However, achieving the best results requires the right tools and equipment.
Polished concrete flooring is popular for its low maintenance and durability. It’s suitable for high-traffic areas and offers an attractive texture and color. It’s also a cost-effective alternative to marble or granite floors.
CONCRETE POLISHING METHODS
Concrete can be polished using two methods: dry or wet. Dry is more common in industrial settings as it’s faster and eco-friendly. Wet use water to cool and lubricate abrasives but creates a slurry that must be disposed of properly to prevent environmental harm.
STEPS IN THE POLISHING PROCESS
1. GATHER THE NECESSARY TOOLS
When preparing to polish concrete, assessing the surface hardness beforehand is crucial. This will determine the appropriate tools required for the job. Use extra soft diamond-bonded abrasives for hard concrete to achieve a smooth finish. Conversely, you’ll need very hard diamond abrasives for very soft concrete to achieve the same result.
To achieve a polished concrete surface, you will need several important tools, including;
- polishers,
- diamond-bonded tools,
- grinders,
- an industrial floor vacuum,
- densifiers, and
- stains.
2. SEALING CRACKS AND FILLING HOLES
Clean and fill any cracks or holes in the concrete surface before working on it. Inspect for expansion joints and clean, repair, and fill them as needed.
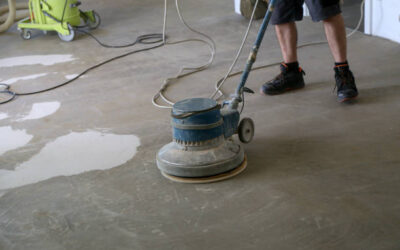
3. CONCRETE GRINDING
To get the best results, use diamond-bonded metals with a 16-120 grit range to grind concrete surfaces. This is crucial for surfaces that previously had adhesives for carpets. For a smooth finish, use extra soft diamonds for very hard concrete and soft diamonds for hard and medium-hard concrete after grinding. This will ensure a smooth and professional finish for your project. Grout the floor before polishing the concrete to avoid moisture. Use 120-grit or higher diamonds for a shiny finish.
4. REMOVE SCRATCHES FROM THE SURFACES; USE 30-, 50-, or 100-AND 200-GRIT RESIN PADS
Once you have finished grinding, it is advisable to eliminate any scratches caused by metal abrasives by using 30 or 50-grit resin pads. This will ensure a seamless transition to resin diamonds. For a smoother finish, use 50 or 100-grit resin pads, and finally, complete the task with 200-grit resin pads.
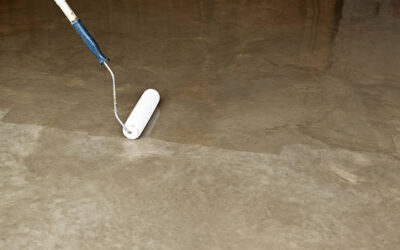
5. APPLYING DENSIFIERS AND STAINS
Grind and hone with a 200-grit resin pad or higher for a strong, durable concrete surface. Add densifiers to prevent weakening and breakdown, and consider applying an extra coat for added hardness. Wait for stains to dry before applying the densifier. Finish off with 400-grit pads for a smooth and glossy appearance.
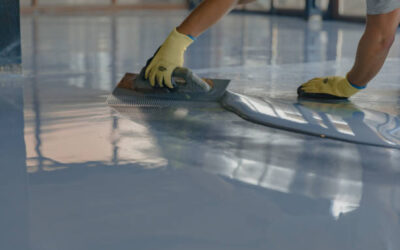
6. POLISHING THE SURFACE
For a perfect finishing touch, begin with the 400-resin grit diamond pads and then use 800-, 1500-, and 3000-grit resin pads on the entire surface. Opt for the 800-grit and 1500-grit resin pads for moderate shine. However, if you prefer a more polished appearance, employ the 3000-grit resin pads for a mirror-like, glassy finish.
7. ADD THE FINAL TOUCHES
This step is not required but necessary if you want a shinier gloss. Use your polishing pads on a burnisher to polish the concrete to achieve maximum shine. Polished concrete is visually appealing, but achieving a glossy mirror-like finish takes time and effort.
0 Comments